
A total roof replacement involves far more than removing shingles and installing new ones. The work begins with an inspection, continues through material selection and roof deck preparation, and ends with cleanup and a final review. Each stage affects water drainage, attic ventilation, safety, and service life. Knowing what happens at each point helps homeowners compare proposals and prepare their property before the crew arrives. The initial assessment defines the project’s scope.
Homeowners asking what is included in a total roof replacement need more than a list of shingle materials. A complete scope usually includes tear-off, roof deck inspection, underlayment, flashing, ventilation, new roofing, property protection, and debris removal. A written sequence shows which tasks the contractor will complete and which concealed conditions could change the work.
1. Roof Assessment and Project Planning
The process begins with an inspection of the existing roof. The contractor checks the shingles, flashing, valleys, vents, gutters, and visible signs of water intrusion.
The inspection also identifies roof slopes, access points, and areas that need extra protection during removal. Measurements determine material quantities and support an accurate written proposal.
A complete proposal should identify the roofing material, underlayment, flashing work, ventilation components, disposal arrangements, and cleanup responsibilities. Homeowners should review these details before scheduling the project. The details also determine the overall cost of the project.
2. Property Preparation and Safety Measures
Before tear-off begins, the crew protects landscaping, siding, windows, doors, and nearby outdoor fixtures. Tarps, protective boards, and controlled access reduce the risk of damage from falling debris.
The property owner should move vehicles, patio furniture, grills, and fragile decorations away from the house. Indoor preparation also helps because hammering creates vibration near ceilings and walls.
Workers establish safe routes for materials and debris. They plan ladder locations, delivery access, and daily cleanup procedures before removing the first section of roofing.
3. Tear-Off and Deck Inspection
The crew removes the existing shingles, underlayment, fasteners, and damaged roof accessories. This exposes the roof deck, which supports the new roofing system.
Once the deck is visible, workers inspect it for rot, water damage, sagging, loose panels, and weak attachment points. Damaged decking must be replaced before new materials cover it.
This inspection matters because new shingles cannot correct a deteriorated structural surface. The contractor should document added repairs and explain how they affect the project scope before work continues.
4. Underlayment, Flashing, and Ventilation
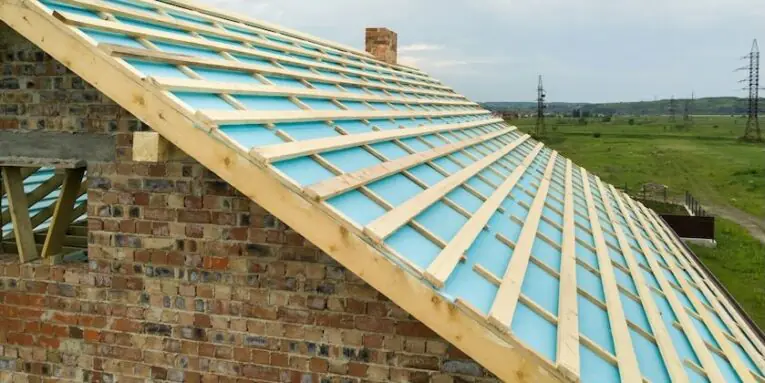
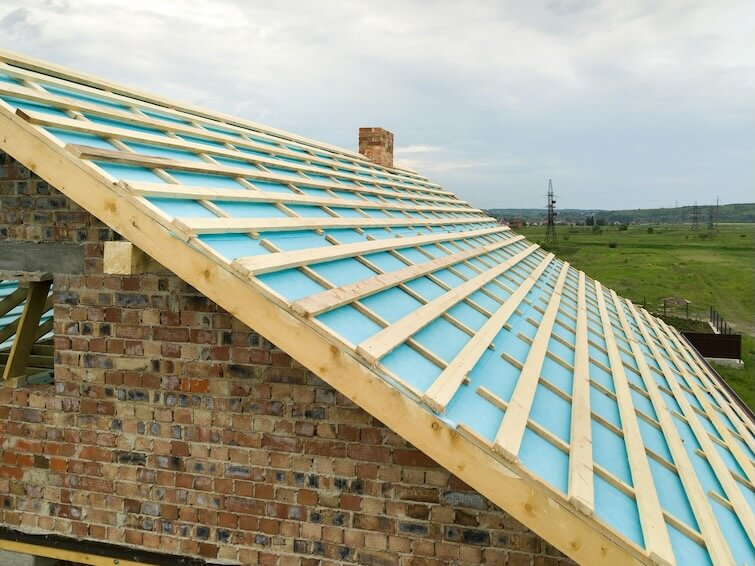
After deck repairs, the crew installs underlayment across the prepared surface. This layer provides secondary protection beneath the shingles and directs water toward the roof edges.
Workers also install or replace flashing around chimneys, walls, skylights, vents, valleys, and other roof penetrations. These areas require careful detailing because water often enters where roofing materials meet vertical surfaces.
Ventilation work addresses airflow through the attic. Intake and exhaust components must work together to reduce trapped heat and moisture, which can damage decking and shorten shingle life.
5. New Roofing Installation
During installation, the crew places the selected roofing material according to the roof layout and manufacturer requirements. Workers establish straight courses, secure each piece, and detail edges, ridges, valleys, and penetrations.
Starter materials protect the lower roof edge, while ridge materials finish the upper sections. Flashing and sealant receive careful attention around every penetration because small gaps can create leaks.
A careful installation also accounts for roof pitch and drainage paths. Materials should remain flat, properly fastened, and free of exposed gaps before the crew begins its final inspection.
6. Cleanup and Final Inspection
Cleanup continues throughout the project instead of waiting until the final day. Crews collect old shingles, packaging, loose fasteners, and other debris from the roof, driveway, walkways, and surrounding yard.
A final inspection checks roof alignment, flashing, vents, edges, valleys, exposed fasteners, and visible seal points. The contractor also confirms that gutters and downspouts remain clear after the work.
The homeowner should receive project documentation, care instructions, and information about completed repairs. A final walkthrough gives the property owner time to ask questions before the crew leaves.
Conclusion
A total roof replacement should leave a clear record of the work completed above the home, not simply a finished-looking surface. The process includes assessment, property protection, tear-off, deck repairs, underlayment, flashing, ventilation, new roofing, and cleanup. Before signing a proposal, a homeowner should request every item in writing and ask how concealed damage will be handled. That step makes proposals easier to compare and reduces confusion after removal begins.
People also read this: Financial Forecasting for Advisors: Turning Scenarios Into Clear Client Decisions
