
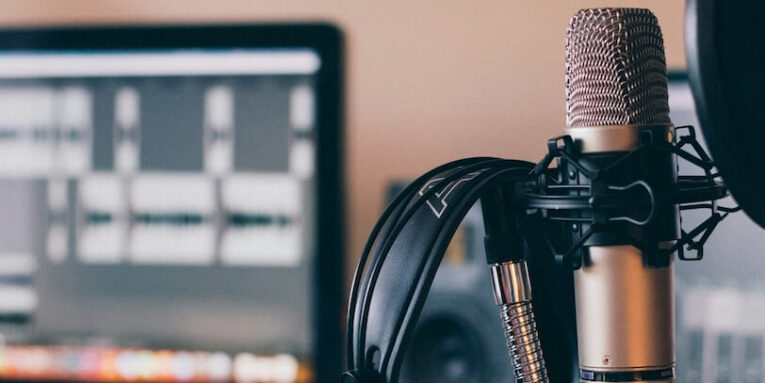
Launching a first podcast requires less equipment than many beginners expect. A quiet room, reliable microphone, headphones, recording software, and a hosting account cover the basic setup. These choices reduce background noise, prevent technical problems, and keep production manageable after recording ends. Spending heavily before testing a format often creates unused equipment and unnecessary expense. A practical checklist helps new hosts buy what supports clear audio and consistent publishing, beginning with the recording space.
New hosts should match purchases to the show format, guest plans, and recording location. A solo host in a treated bedroom needs less hardware than a weekly interview show with remote guests. A practical guide to what equipment do you need to start a podcast helps confirm which items affect sound, editing, storage, and publishing without encouraging unnecessary spending.
1. Prepare a Quiet Recording Space
The popularity of podcasts is increasing every day. According to studies, there are four million podcasts and 188 million episodes to choose from. A quiet room improves audio before any software processing begins. Bedrooms, carpeted rooms, and spaces with curtains or bookshelves absorb reflections better than empty rooms with hard floors.
Turn off fans, air conditioning, and other equipment that creates a steady hum. Close windows, silence phone notifications, and record a short test clip before the first full episode. Headphones reveal background sounds that are easy to miss while speaking.
Room treatment does not require expensive panels. Blankets, clothing, and bookshelves reduce harsh reflections, although they cannot remove traffic, construction, or nearby conversations.
2. Choose a Suitable Microphone
A dedicated microphone produces clearer speech than a laptop’s built-in microphone. USB microphones suit most beginners because they connect directly to a computer and require no separate audio interface.
An XLR microphone requires an audio interface and compatible cables. That setup suits hosts who plan to add multiple microphones or build a more advanced studio later.
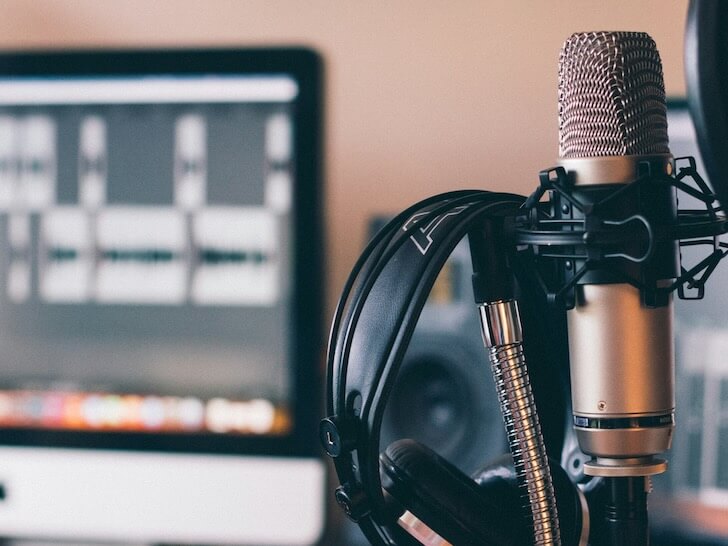
Dynamic microphones reject background noise better than condenser microphones in untreated rooms. The host should position the microphone four to six inches from the mouth, slightly off-axis, and use a pop filter to reduce sharp breath sounds.
Microphone placement affects recording quality as much as the microphone itself. A consistent distance keeps volume stable, while speaking across the microphone capsule reduces plosive sounds from letters such as “p” and “b.”
3. Add Headphones and Basic Accessories
Closed-back headphones let hosts monitor speech without sending sound back into the microphone. They also reveal clicks, hums, distorted levels, and excessive room echo during a test recording.
A stable microphone stand keeps the microphone in a consistent position. A pop filter reduces air bursts, while a shock mount limits vibration from desks, keyboard movements, and accidental bumps.
A USB microphone usually needs only a cable and stand. An XLR setup also requires an XLR cable, an audio interface, and headphones with a suitable connection.
4. Install Recording and Editing Software
Recording software captures speech, interviews, and separate audio tracks. Editing software removes long pauses, repeated lines, unwanted noise, and mistakes before an episode becomes a finished file.
Free recording programs provide enough functions for a first podcast. New hosts should learn recording levels, basic cuts, fades, and file export before paying for advanced software.
The recording level should leave space below digital clipping. A short test prevents an entire interview from becoming unusable because the microphone was too close or the input level was too high.
A simple episode structure also reduces editing time. The host can record a brief opening, the main discussion, and a closing message that directs listeners to the next episode.
5. Prepare Hosting and Publishing Details
A podcast host stores audio files and creates the RSS feed that podcast apps use for distribution. The host should confirm that the chosen service supports the required storage, analytics, and distribution settings.
Podcast artwork should remain readable at a small size and match the show name. The show description should state the subject, intended audience, and reason to listen without making unsupported claims.
Before publishing, hosts should listen to the exported file on headphones and speakers. They should check the title, description, artwork, episode number, and audio file before submitting the show to listening apps.
A stable internet connection supports remote interviews and file uploads. Regular publishing also requires a basic content plan, including several episode ideas prepared before launch.
Conclusion
A first podcast needs dependable basics, not a studio filled with expensive gear. Start with a quiet room, a USB microphone, closed-back headphones, a stable stand, and free recording software. Add an audio interface only when an XLR microphone or multiple inputs justify it. Before publishing, record a test, check the exported file, prepare artwork, and confirm the RSS feed. The next practical step is a short pilot episode that tests the entire setup before launch.
People also read this: Hypoallergenic Jewelry: Why It Matters to End Customers
