If you are looking to erect a large outdoor sign that advertises your business then you need to put a bit of thought into not just the design, layout and content of the sign that you want to display but you also need to work out how to mount it securely and safely.
Here is a look at some important aspects of safety and installation that will help to ensure that your outdoor signage project is a success in every respect.
First impressions
Outdoor signs are often the first point of visual contact for many potential customers so you want to create the right impression, and this can be done with not just the right signage that is effective for your business but by ensuring that it looks like it has been professionally installed. What’s just as, if not more important, is choosing an attractive sign that will properly showcase your message. One of the more popular choices are metal signs, or aluminum signs. They have a great ROI since they last for many years and really catch the eye of anybody nearby. With an attractive design they can really help promote your shop or store front.
Placement
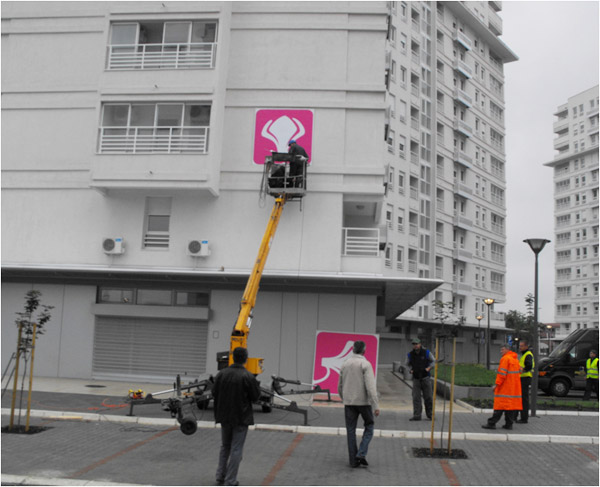
Your aim should be to place a sign that is large enough to be read from the street that fronts your business premises or office.
In order to achieve this aim you will often have to place the signs fairly high up and this generally means trying to mount it at least 10-12 feet from the ground. It wants to be hung in a prominent position and so that it can be clearly distinguished against other competing signs.
Smaller signs
The general advice with smaller signs is to hang them at eye level so that they are much easier to read without straining or having to look up.
Many businesses opt for a variety of signs with a larger one installed above at a reasonable height followed by smaller signs at eye level that have more text-based information on them.
Fixing the signs to wood
You need to take your time to get the placement of the fixings just right so mark the desired placement position of the brackets with a wax pencil, making sure that the marks are perfectly level by using a level to ensure that the bubble sits exactly in the middle.
Using a power screwdriver insert screws of a sufficient length to hold the signs in place into the bracket holes but remember not to tighten them completely at this stage. Go round and partially tighten each screw into position and then tighten them fully once they are all in place.
Fixing to brick and concrete
Follow the same procedure when marking out the fixing holes for the brackets by marking out the drill holes with a wax pencil and checking that the mark levels are straight using the bubble on your level.
You should then drill a hole that is slightly smaller than the hammer anchors into each of the marks. Follow this by hammering the anchors in the wall which will cause them to activate and hold securely inside the cement or brick.
If the sign is heavy or large or you simply want to ensure that is held securely in place with little chance of falling, then you might want to consider some strapping which you can get from suppliers like It Straps On, Inc. so that you can get extra peace of mind when it comes to safety.
Your sign should now be safe and secure and able to withstand the elements as well as doing a good job of advertising your business.
Timothy Stokes is an experienced sign producer. He enjoys blogging about different aspects of the sign industry from design to installation.