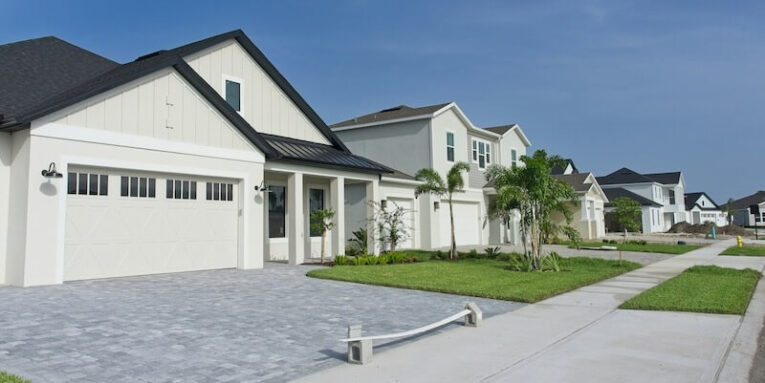
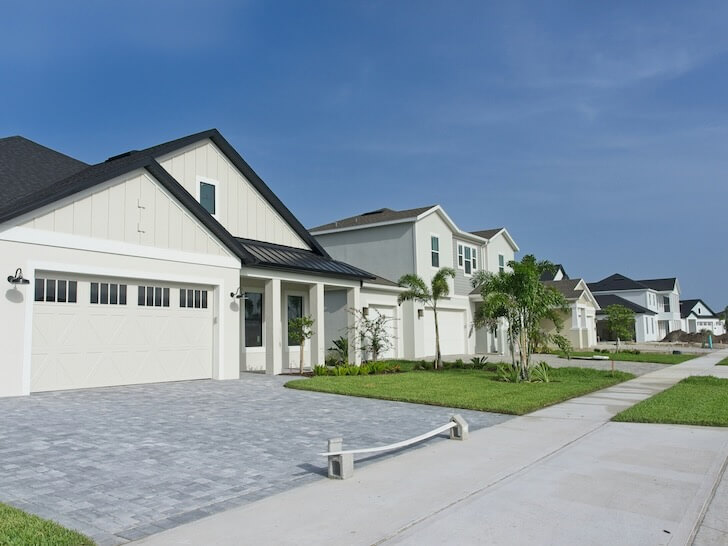
Building a custom home is not too complicated – you design it, someone builds it, and you move in. Well, that’s not entirely true. It’s a bit more complicated than that, and the more a prospective homebuilder knows about the process between “Let’s build a house!” and “Enjoy your new keys,” the better.
By understanding what happens – or should happen – during the step-by-step construction process, expectations get set appropriately, and the surprises that turn exciting new builds into frustrating pressures are avoided.
What it really looks like in reality:
Finding the Right Lot and Purchasing It
Before any designing commences, there’s land. Not all land is suitable for all homes.
Lot purchasing is more than just a pretty view. Soil quality establishes what needs to happen for foundations and how costly they will be. Hilliness dictates drainage and where a driveway goes – or if someone needs to excavate down for access purposes. Setback requirements for neighboring properties, too, dictate how much of the property someone can use and how tall they can build. Additionally, does water/sewer exist, or is a well/septic necessary?
Many buyers miscalculate how much lot quality determines design feasibility and budget expense. A flat piece of land with water/sewer on the street is uncomplicated. A sloped, wooded piece of land without access to water means starting expenses are drastically different.
Designing and Planning
This is where blueprints come to actual plans, and it takes longer than most people think.
Homeowners work with a designer to make hundreds of choices regarding layouts, room dimensions, ceiling heights, window placement, overall aesthetic. Each decision impacts another – and then some – will a bearing wall in an unconventional place upstage your plans to create an open layout? Will west-facing windows call for expensive HVAC?
Plans must result in detailed construction drawings that show builders what must be created. Blueprints that comprise layouts of each floor, elevations that showcase what the house will look like from the outside, designated electrical and plumbing placements, structural considerations (framing, sub-floors, etc.). Serious buyers are recommended to discuss with a custom home builder in Tampa Bay at this phase to avoid plans on paper that don’t look good in reality.
Revisions are often necessary as costs are factored in as realities set in. Maybe that fourth bedroom gets scaled back or that tile choice is switched out for something more affordable. Expect revisions – frequent ones – as this back and forth through the process is not an error of omission/prevention before implementation.
Getting All Permits Approvals
Plans can’t be built until permits are granted.
Builders will need to submit plans to local builders’ departments once they review them themselves. They must give a thumbs-up that all designs comply with building code and safety regulations. This generally takes weeks to months depending upon the area and size of the property.
Some communities have homeowners associations or other architectural review boards that require approvals as well – while this is good for the community as a whole – it delays the process for everyone, and it’s important not to skip it.
Site Preparation & Foundation
Permits in hand pave the way for construction – literally.
This means removing plants from the lot and rough grading to establish where drainage will go. The footprint of where the house will be is determined via stakes. Temporary utilities need installation so workers have access to power/water during construction. If earthwork or tree removal of substantial size occurs, it can take weeks to prepare for the foundation.
Next is the foundation. Based upon building/plumbing/final inspection accommodations (as well as soil quality), there may be slab foundations or basements or crawl spaces. Footings get dug out, forms get set, rebar gets utilized, concrete gets poured. This phase can take time – weather permitting – and needs to cure before any framing can commence.
Framing
Framing is when a house finally looks like a house – not just a slab of concrete.
Houses go up quickly with well-oiled crews – within weeks – in weeks’ time; floor systems get created; roof structures take shape. But windows and doors get situated during this frame stage as does wrapping the house in weather-resistant materials. Framing needs inspection before moving on since everything thereafter hinges on this first stage of construction getting done right.
Rough-Ins
Once the home is framed and “dried-in” (not exposed to the elements), rough-ins take place.
This includes plumbing rough-ins (sinks/kitchens/bathrooms), electrical components (wiring from outlets), HVAC (ductwork), low-voltage wiring for internet/entertainment needs, etc. This requires many different crews working simultaneously – or at least coordinating along the way – as multiple inspections require verification before placements are hidden behind walls/ceilings.
Any issues noted during rough-in inspections can also cause delays since corrections must be made.
Insulation & Drywall
After passing inspection, it’s time for insulation.
Based upon energy factors, foam spray/rock wool/batt insulation is more favorable during these stages pending local weather conditions.
Next: drywall. Drywall converts rooms into actual rooms – the dust is incredible but it’s worth it! Drywall is hung (which takes time, down unless levels are completely parallel), taped mudded and sanded – multiple times – thus ensuring walls are nice takes longer than anticipated due to dry times between applications.
Final Details & Finish Work
It’s all cosmetic now – from paint to trim.
Interior trim gets placed for baseboard/crown molds; cabinets go in kitchens/bathrooms; flooring (tiles/hardwood) goes down as well as interior doors; painting occurs inside/outside and generally requires at least two coats for framing and walls.
Finish plumbing will include installing faucets/vanities/toilets/appliances as finish electrical includes light fixtures – exterior siding/stone will join finalized grading/landscaping, driveways installed if applicable, outdoor options (patios/decks).
Certificate of Occupancy
Before anyone can move in, final inspections must occur from the building department verifying that approved plans were built according to code compliance. Once verified and passed – and after one final walkthrough with some punch list items here and there – occupancy is approved after any last-minute changes are made,
The Timeline
Ultimately, from start to finish – the actual building process typically takes 8-12 months for an average house within normal parameters (less if workers are quick and reliable; longer if there’s weather or material availability). Larger houses take longer as well as more complex builds (creativity).
When factoring in design/pre-construction planning as well as 2-4 months of permitting additionally – before anything goes into ground – buyers should expect a total timeline of a year (at least) from concept to completion.
Why It’s Important to Know What Really Happens
The more people know about what’s involved in custom home building – how long it takes until it’s realistically time to move in – the better. Planning can be done ahead of time based on budgeting; expected tenets can adjust naturally based on appreciation timelines; adjustments can be made along the way with focus for what’s not ideal down the road (if construction discussions occur frequently).
Custom home construction isn’t scary – but wonderful – and knowing what needs to happen makes it all worthwhile!
People also read this: How to Know When It’s Really Time to Upgrade Your Home