
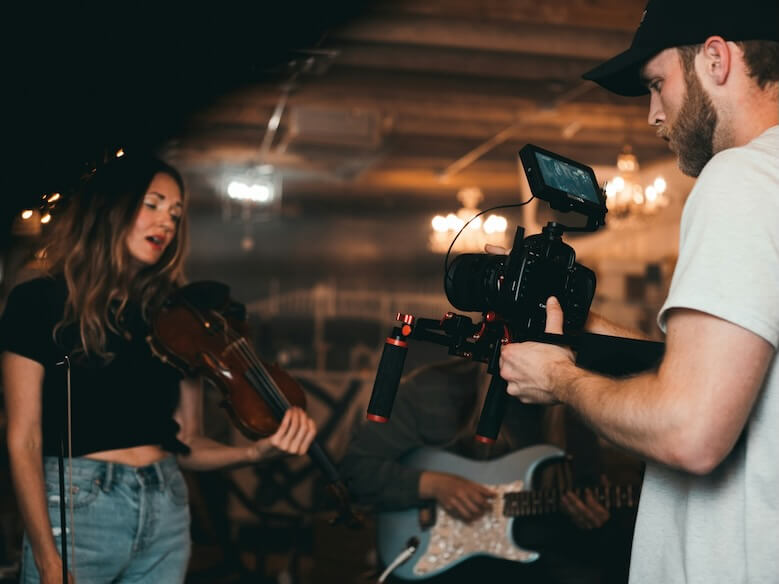
In today’s digital music landscape, visuals are no longer optional, they’re essential. Whether you’re an independent artist, a label manager, or a content creator, having an eye-catching video to accompany your track can make all the difference. A strong visual identity amplifies your brand, captures attention, and helps your music stand out across platforms like YouTube, Spotify Canvas, and Instagram Reels.
But here’s the thing: not every artist has a film crew, a video editor, or a big production budget. That’s where online visualizer tools come in. Platforms like Videobolt allow you to turn a simple audio file into a branded, professional-quality video without touching a single frame of complicated software.
This guide will take you step-by-step through building a branded music video using online tools, diving into the technical side of customization and optimization for artists who want more than just “plug-and-play.”
Why Music Visualizers Are the New Album Art
Music visualizers aren’t just flashy graphics. They’re a bridge between sound and storytelling. A good visualizer adds rhythm, emotion, and branding to your audio, enhancing listener engagement and extending your reach on streaming and social platforms.
According to HubSpot’s 2023 State of Video Marketing Report, 91% of businesses now use video as a marketing tool, and 92% say it’s a crucial part of their strategy. For musicians and creators, this translates into opportunity. A dynamic music visualizer can serve as both a marketing asset and a brand-building tool, helping your track gain more visibility without major production costs.
Step One: Preparing Your Audio and Branding Assets
Before diving into any visualizer platform, start with your raw materials. This ensures your final output is cohesive, on-brand, and ready for any platform.
Here’s what you’ll need:
- High-quality audio file: Preferably WAV or high-bitrate MP3 to maintain sound clarity during export.
- Brand assets: Your logo (preferably in PNG format with transparency), color palette, and any visual motifs (icons, patterns, etc.) associated with your brand or album.
- Typography: If you use a specific font in your cover art or social media, keep it consistent across the video.
- Tagline or artist text: Think of short, impactful text overlays like “OUT NOW” or “NEW SINGLE.”
Organize these assets in a dedicated folder so you can quickly upload them once you’re inside the platform.
Step Two: Choosing the Right Visualizer Template
Once your assets are ready, head over to the best music video maker for creators who want customizable templates without complex software.
Look for templates that match your genre and mood. For example:
- Electronic/Dance: Choose pulse or waveform visualizers that sync dynamically with beats.
- Hip-hop: Opt for urban-style animations with darker tones and bass-reactive motion.
- Lo-fi/Indie: Go for minimalist visuals with soft motion and color gradients.
- Rock/Metal: Choose templates with sharp transitions, bold graphics, and grunge textures.
Each template is pre-built with animation layers that react to your track’s frequency spectrum. You can often tweak these layers by adjusting motion speed, particle density, or brightness to fine-tune how the visual responds to your specific song.
Step Three: Customizing Colors, Motion, and Logo Placement
Once you’ve picked a template, the fun begins, customization. The goal here is to translate your sonic identity into visuals that reflect your brand.
Start by setting your color palette. Choose two or three dominant colors that match your album art or social branding. If your logo has a primary accent color, consider using it as your waveform or particle highlight.
Then, adjust motion dynamics. Many visualizer tools let you sync specific animation behaviors (like pulse intensity or rotation) to certain frequencies such as the bass or vocals. This makes your visuals “breathe” with the music.
Lastly, place your logo strategically. Ideally, it should sit near a corner or fade in subtly during drops or transitions. Avoid centering it unless it’s part of your video’s focal point. You don’t want it to distract from the music’s rhythm.
Step Four: Adding Text, Metadata, and Calls-to-Action
A professional music video visualizer isn’t just about aesthetics, it’s about communication. Use text overlays sparingly but purposefully.
You might include:
- Song title and artist name (displayed during intro and outro)
- Streaming links or website URLs
- Release taglines (like “Out Now on Spotify”)
- Social media handles or QR codes
For mobile-optimized platforms (like Instagram Reels or TikTok), make sure your text is readable even in vertical format. Use strong contrast and short fade durations for legibility.
Step Five: Fine-Tuning Audio Sync and Effects
This step is where you move from “good” to “great.” A polished music video visualizer lives or dies by its sync accuracy.
If the tool offers an audio-reactive timeline, manually adjust sensitivity thresholds. You can assign motion reactions to specific frequencies. For instance, making the low-end bass trigger a shockwave effect while higher notes control particle bursts.
Pro tip: If your song includes a quiet intro or fade-out, you can automate the animation intensity to scale gradually. This adds cinematic flow and avoids abrupt transitions that break immersion.
Step Six: Export Settings and Optimization
Once you’re satisfied with your visualizer, it’s time to render. Export settings matter, they determine how professional your final output looks across platforms.
Here’s a checklist to ensure you’re exporting correctly:
- Resolution: 1920×1080 (Full HD) is standard, but export 4K if you plan to upload to YouTube or project in live shows.
- Frame rate: 30 or 60 FPS — higher frame rates produce smoother motion for visuals synced to beats.
- File format: MP4 is ideal for most platforms due to its balance between quality and file size.
- Bitrate: 10–15 Mbps for HD; 30–40 Mbps for 4K exports.
- Watermark removal: Always double-check your license type before publishing commercially.
Run a quick test playback before finalizing. Mismatched frame rates or over-compressed audio can ruin the viewer experience.
Step Seven: Distributing and Promoting Your Visualizer
Your video is only as effective as its reach. Upload it across all major channels such as YouTube, Instagram, TikTok, and Spotify Canvas ensuring each format is correctly cropped or resized (e.g., vertical for mobile, horizontal for desktop).
Also, embed the video on your website or EPK (Electronic Press Kit). This boosts your professional credibility when reaching out to promoters, blogs, or potential collaborators.
Use metadata strategically: include genre tags, artist name, and keywords like “official visualizer” to optimize discoverability.
Bonus Tip: Use Data to Evolve Your Visual Branding
After your video is live, track engagement metrics like views, retention rates, and click-throughs. Platforms like YouTube Studio or Meta Insights show which parts of your video keep viewers watching.
If you notice drop-offs, consider adjusting animation pacing or simplifying visual density in future projects. The most engaging visualizers strike a balance between motion and clarity.
Final Thoughts
Building branded music videos no longer requires a studio or production crew. With platforms like Videobolt, artists can transform their sound into striking visuals that reflect their identity and elevate their presence online.
The process is technical, yes, but it’s also deeply creative, an opportunity to merge visual rhythm with sonic energy. Once you master the workflow, every release becomes not just something to hear, but something to experience.
So go ahead: upload your track, experiment, and let your visuals tell your story one beat, one frame, one brand at a time.
People also read this: Austin Homeowners: How a Kitchen Remodel Can Boost Your Home’s Selling Price